Protein Ice Cream Recipe: A Creamy High-Protein Treat
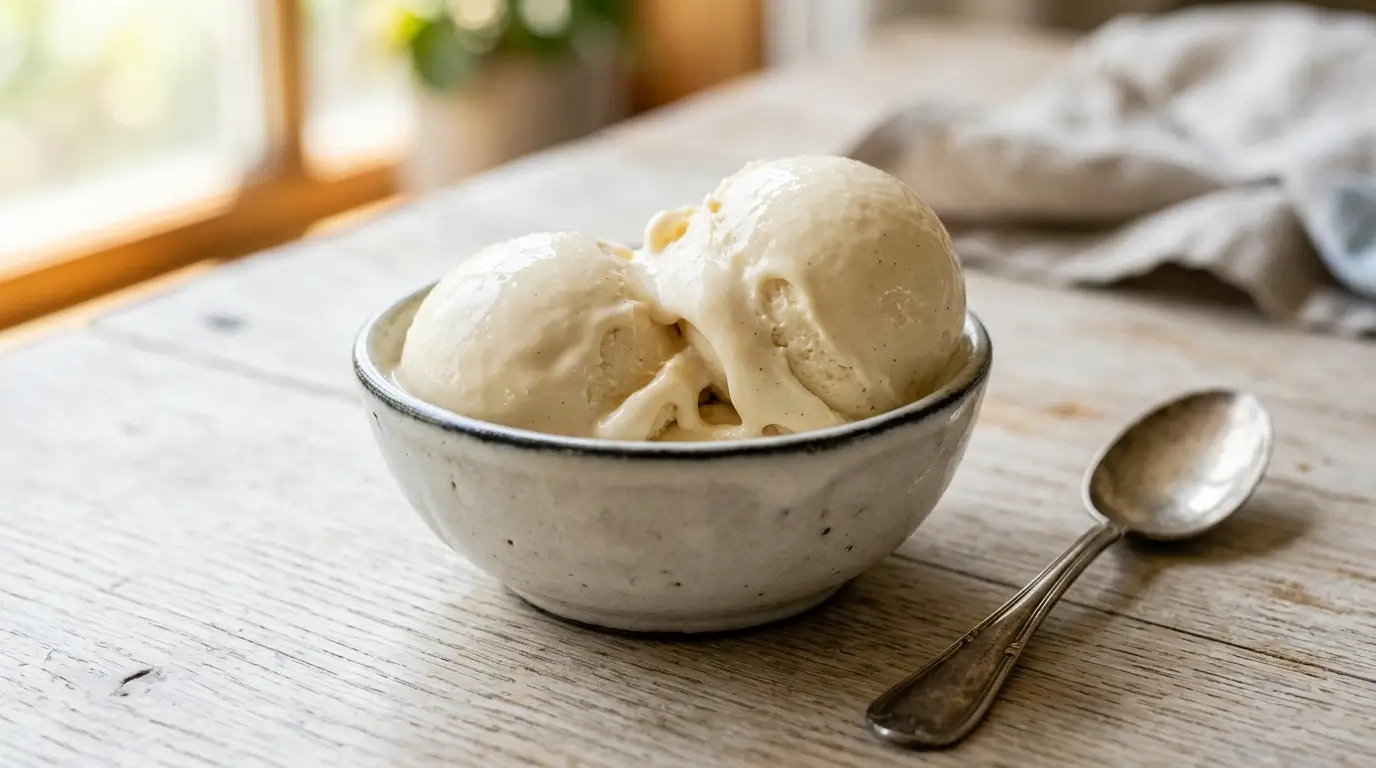
What if the creamiest dessert in your freezer could also double as a genuine muscle-recovery food? This protein ice cream recipe challenges the old idea that frozen treats and serious nutrition can’t share the same bowl, delivering a rich, scoopable texture with none of the icy, chalky letdown so many high-protein desserts suffer from. Store-bought pints often pack more sugar and additives than shoppers expect, which is exactly why a homemade version gives you full control over every ingredient that goes into the tub. Built on a simple base of Greek yogurt, milk, and quality protein powder, this frozen dessert proves that indulgence and macros can finally coexist in the same spoonful.
Table of Contents
Ingredients
For this protein ice cream recipe you’ll need:
- 2 cups plain Greek yogurt, full-fat or 2%, for a naturally thick, tangy base that whips up creamy every time
- 1 cup milk of choice (dairy, oat, or almond work well) to loosen the mixture just enough for easy churning
- 2 scoops vanilla whey or plant-based protein powder, the true backbone of this recipe’s macros
- 1/3 cup honey or maple syrup, for smooth natural sweetness that dissolves evenly into the base
- 1 tablespoon vanilla extract, for warm, rounded flavor in every bite
- 1 tablespoon cornstarch or 1 tablespoon vodka, to keep the texture soft and scoopable straight from the freezer
- Pinch of salt, to balance the sweetness and sharpen the vanilla notes
Keep the list this lean on purpose: every ingredient here earns its place, and skipping any one of them noticeably changes the final texture.
Timing
This protein ice cream recipe requires:
- Preparation time: 15 minutes
- Churning time: 20 to 25 minutes
- Freezing time: 4 hours minimum
- Total time: approximately 4 hours 40 minutes
Most of that window is hands-off freezer time, so the active work involved is closer to 20 minutes from start to finish.
Step-by-Step Instructions
Step 1: Blend the Base
In a blender, combine the Greek yogurt, milk, protein powder, honey, vanilla extract, cornstarch, and salt. Blend on medium speed for 60 to 90 seconds until completely smooth and no protein powder clumps remain, scraping down the sides once or twice to catch any stray powder clinging to the walls of the blender. This smooth start is what keeps your protein ice cream free of the gritty texture that plagues many homemade versions, so don’t rush this step even if the base already looks fairly even.
Step 2: Chill the Mixture
Pour the blended base into a bowl, cover, and refrigerate for at least 30 minutes, though up to 2 hours is even better if your schedule allows it. A cold base churns faster and traps smaller ice crystals, which is the real secret behind a genuinely creamy protein ice cream rather than an icy block. Skipping this step is one of the most common reasons homemade versions turn out grainy.
Step 3: Churn to Soft-Serve Consistency
Pour the chilled mixture into your ice cream maker and churn according to the manufacturer’s instructions, typically 20 to 25 minutes, until it reaches a thick, soft-serve consistency that holds its shape when lifted with a spoon. If you don’t own an ice cream maker, pour the mixture into a shallow dish and whisk vigorously every 30 minutes for 3 hours instead, breaking up any ice crystals that form along the edges each time.
Step 4: Freeze and Set
Transfer the churned mixture into a freezer-safe container, smoothing the top with a spatula for even freezing. Press a piece of parchment paper directly onto the surface to prevent ice crystals, then seal with a tight-fitting lid and freeze for at least 4 hours, or overnight for the firmest scoop. Let it sit at room temperature for 5 to 10 minutes before scooping so your protein ice cream softens just enough for easy, effortless serving.
Nutritional Information
For a serving of this protein ice cream recipe (about 1/2 cup, based on 6 servings):
- Calories: 140 kcal
- Total Fat: 3g
- Saturated Fat: 1.5g
- Cholesterol: 15mg
- Sodium: 65mg
- Total Carbohydrates: 14g
- Dietary Fiber: 0g
- Total Sugars: 11g
- Protein: 15g
- Calcium: 120mg
- Iron: 0.3mg
Compared to a typical store-bought pint, which can carry over 20 grams of sugar and barely 4 grams of protein per serving, this homemade version flips the ratio in your favor, making it a frozen dessert that genuinely supports recovery and satiety rather than working against them.
Healthier Alternatives
Transform your protein ice cream recipe into a healthier version with these modifications:
- Lower-Sugar Swap: Replace the honey with a monk fruit or allulose syrup to cut sugar significantly while keeping the same smooth texture.
- Dairy-Free Version: Use coconut yogurt and oat milk in place of Greek yogurt and dairy milk for a fully plant-based frozen dessert.
- Extra-Fiber Boost: Stir in a tablespoon of ground flaxseed before churning for added fiber without changing the flavor.
- Lower-Calorie Option: Use a casein-based protein powder and reduce the honey by half for a lighter, lower-calorie result.
- Nut-Free Adaptation: Choose oat or dairy milk instead of almond milk to keep this dessert fully nut-free.
- Lower-Sodium Tweak: Skip the added salt entirely if you’re watching sodium intake; the vanilla and honey still carry plenty of flavor on their own.
Serving Suggestions
Elevate your protein ice cream experience with these ideas:
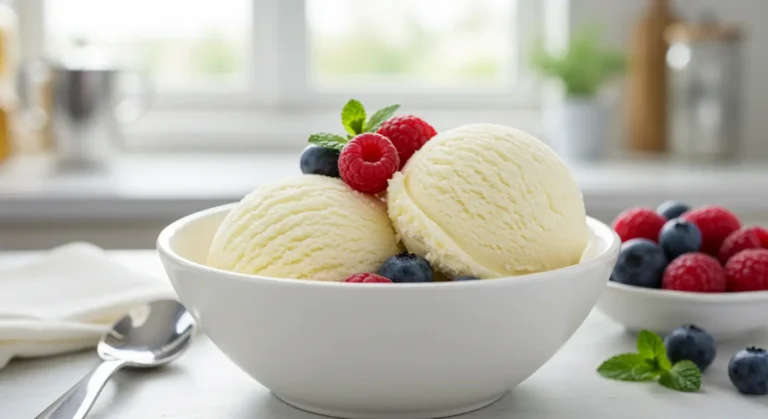
- Scoop it into a bowl and top with fresh berries for a bright, antioxidant-rich finish.
- Sandwich a scoop between two thin oat cookies for a portable protein ice cream sandwich.
- Drizzle with a spoonful of natural peanut butter for extra richness and staying power.
- Blend a scoop with a splash of milk for an instant post-workout protein shake.
- Sprinkle crushed dark chocolate or cacao nibs on top for a satisfying crunch.
- Layer it in a glass with granola for a parfait-style dessert.
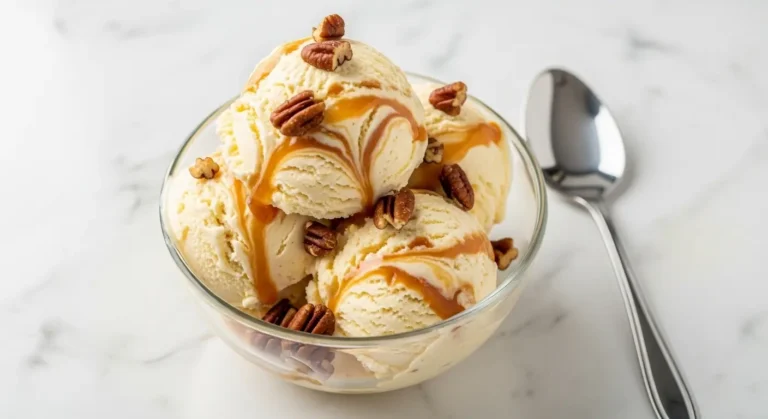
- Warm a spoonful of nut butter until pourable and swirl it into the scoop for a marbled, dessert-shop finish.
- Pair a scoop with sliced banana for a naturally sweet, potassium-rich combination that rounds out the flavor.
Common Mistakes to Avoid
Master this protein ice cream recipe by avoiding these pitfalls:
- Skipping the Chill Step: Churning a warm base leads to large ice crystals and a grainy texture. Always chill the mixture first.
- Using Too Much Protein Powder: Extra scoops can make the base pasty and chalky. Stick to the recommended amount for the smoothest result.
- Under-Churning: Stopping too early leaves the mixture thin and prone to freezing into a solid brick. Churn until it reaches true soft-serve thickness.
- Skipping the Stabilizer: Leaving out the cornstarch or alcohol often results in a rock-hard freeze. This small addition keeps every scoop soft.
- Freezing Without a Surface Cover: Air exposure creates icy patches. Always press parchment directly onto the surface before sealing.
- Serving Straight From the Freezer: A hard freeze straight out of the freezer makes scooping difficult and can crack a spoon. Give it a short rest at room temperature first.
Storing Tips
Preserve the freshness of your protein ice cream with these strategies:
- Airtight Container: Store in a shallow, airtight, freezer-safe container to minimize ice crystal formation.
- Parchment Barrier: Keep a layer of parchment paper pressed against the surface to block air exposure between servings.
- Freezer Shelf Life: This protein ice cream keeps well for up to 3 weeks, though texture is best within the first 10 days.
- Portioning Ahead: Freeze individual portions in small containers for grab-and-go servings throughout the week.
- Softening Before Serving: Let the container sit at room temperature for 5 to 10 minutes before scooping for the creamiest bite.
- Avoiding the Freezer Door: Store the container toward the back of the freezer where the temperature stays more consistent, rather than in the door where it fluctuates every time it opens.
Conclusion
This protein ice cream recipe delivers a genuinely creamy, satisfying frozen dessert without sacrificing nutrition. With simple ingredients and a few key techniques, it’s an easy way to enjoy a treat that fits real fitness goals. Give it a try, and share your results in the review section below.
FAQs
Can I make this protein ice cream without an ice cream maker? Yes, pour the chilled mixture into a shallow dish and whisk every 30 minutes for about 3 hours until it reaches a scoopable, creamy consistency.
Which protein powder works best for this recipe? A smooth whey isolate or a well-blended plant-based powder both work well; avoid gritty or clumpy powders since they affect the final texture.
Why is my protein ice cream too hard to scoop? This usually happens when the stabilizer is skipped or the base isn’t churned long enough before freezing. Adding cornstarch or a small splash of alcohol helps keep it soft.
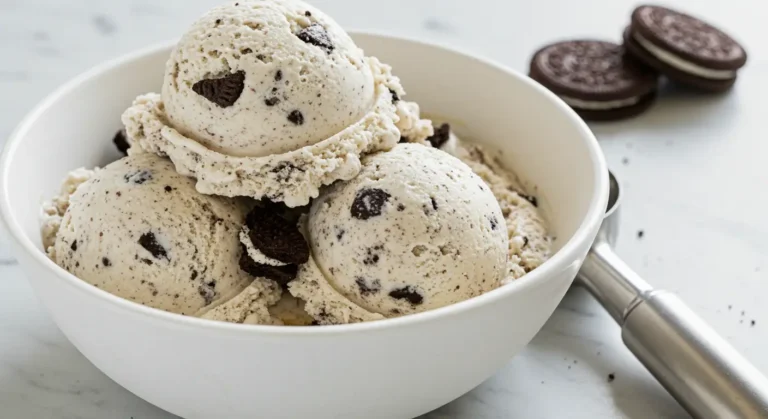
Can I add mix-ins like chocolate chips? Absolutely, fold in mix-ins during the last few minutes of churning so they distribute evenly without sinking to the bottom.
Is this recipe suitable for a post-workout snack? Yes, with 15 grams of protein per serving, this frozen dessert makes a satisfying and refreshing way to refuel after training.
How long does homemade protein ice cream last in the freezer? It stays at its creamiest for about 10 days, though it remains safe and enjoyable to eat for up to 3 weeks when stored in a well-sealed, airtight container.
Your Feedback Matters
There are no reviews yet. Be the first one to write one.