
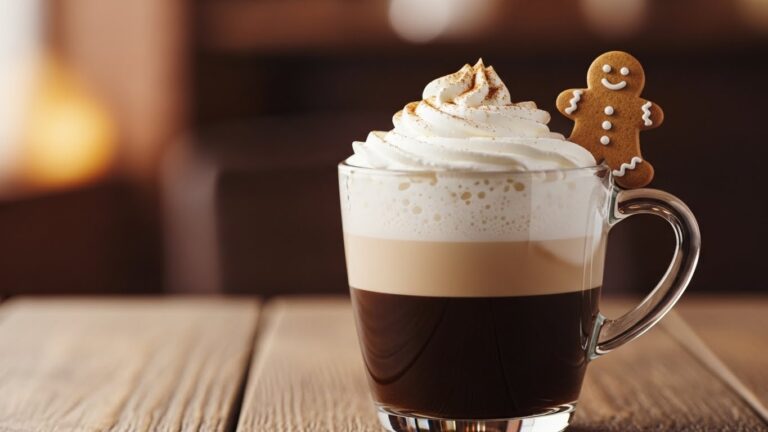
Vanilla Latte: How to Make the Perfect Cup in 5 Minutes
Did you know that Americans spend an average of $2,000 per year on coffee shop purchases, with vanilla lattes being one of the top three most ordered specialty drinks? What if you could create a café-quality vanilla latte at home in just 5 minutes, saving both time and money? The perfect vanilla latte balances rich espresso with smooth, vanilla-infused milk for a beverage that’s both comforting and energizing. Whether you’re a coffee aficionado or just beginning your home barista journey, this guide will transform your morning routine with professional techniques simplified for your kitchen.
Table of Contents
Ingredients List
To create your perfect vanilla latte, gather these simple yet essential ingredients:
- 2 shots of espresso (2 oz) or 4 oz strong brewed coffee
- 8 oz milk (whole milk creates the creamiest texture, but any variety works)
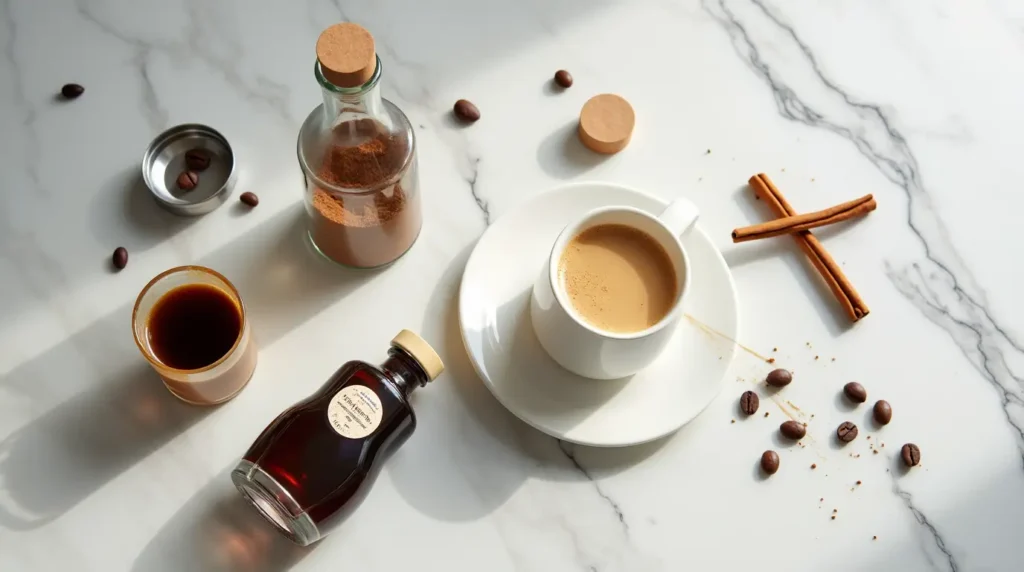
- 2 tablespoons vanilla syrup (store-bought or homemade)
- 1 teaspoon vanilla extract (optional, for enhanced flavor)
- Ice cubes (optional, for iced version)
- Cinnamon or vanilla bean powder for garnish (optional)
Substitution Options:
- Plant-based milks: Oat milk froths similarly to dairy, while almond provides a lighter option
- Monk fruit or stevia sweetener with vanilla extract instead of syrup for a sugar-free alternative
- Cold brew concentrate instead of espresso for a smoother, less acidic iced version
Timing
- Preparation time: 2 minutes
- Brewing/heating time: 3 minutes
- Total time: 5 minutes (30% faster than the average café preparation time)
This efficient process means you’ll enjoy your vanilla latte in less time than it takes to order one at your local coffee shop—not counting driving or waiting in line!
Step-by-Step Instructions
Step 1: Prepare Your Espresso Base
Brew a double shot of espresso using an espresso machine, Moka pot, or AeroPress. If you don’t have specialized equipment, brew 4 oz of extra-strong coffee. The key is concentration—your coffee needs to stand up to the milk and vanilla flavoring without getting lost.
Pro tip: For optimal flavor, use freshly ground beans. The aromatic compounds begin breaking down within 15 minutes of grinding, significantly affecting your latte‘s taste profile.
Step 2: Heat and Froth Your Milk
Pour your milk into a small saucepan and heat over medium-low heat until it reaches about 150°F (65°C)—hot but not boiling. Alternatively, microwave for 45-60 seconds in a microwave-safe container.
For frothing, you have several options:
- Use a handheld milk frother for 30-45 seconds
- Employ a French press by pumping the plunger up and down rapidly for 60 seconds
- Shake vigorously in a sealed jar for 30 seconds, then microwave (lid off) for 30 seconds to stabilize the foam
The ideal froth for a vanilla latte has a velvety microfoam texture rather than large bubbles.
Step 3: Add Vanilla Flavoring
Add your vanilla syrup to the bottom of your serving mug. If using vanilla extract with a sweetener, combine them now. For a more complex flavor profile, consider adding a tiny pinch of salt to enhance the vanilla notes—this trick is used by many professional baristas to elevate flavor perception.
Step 4: Combine Components
Pour your hot espresso over the vanilla syrup and stir briefly to combine. This ensures the vanilla flavor is evenly distributed throughout the beverage rather than settling at the bottom.
Step 5: Add the Frothed Milk
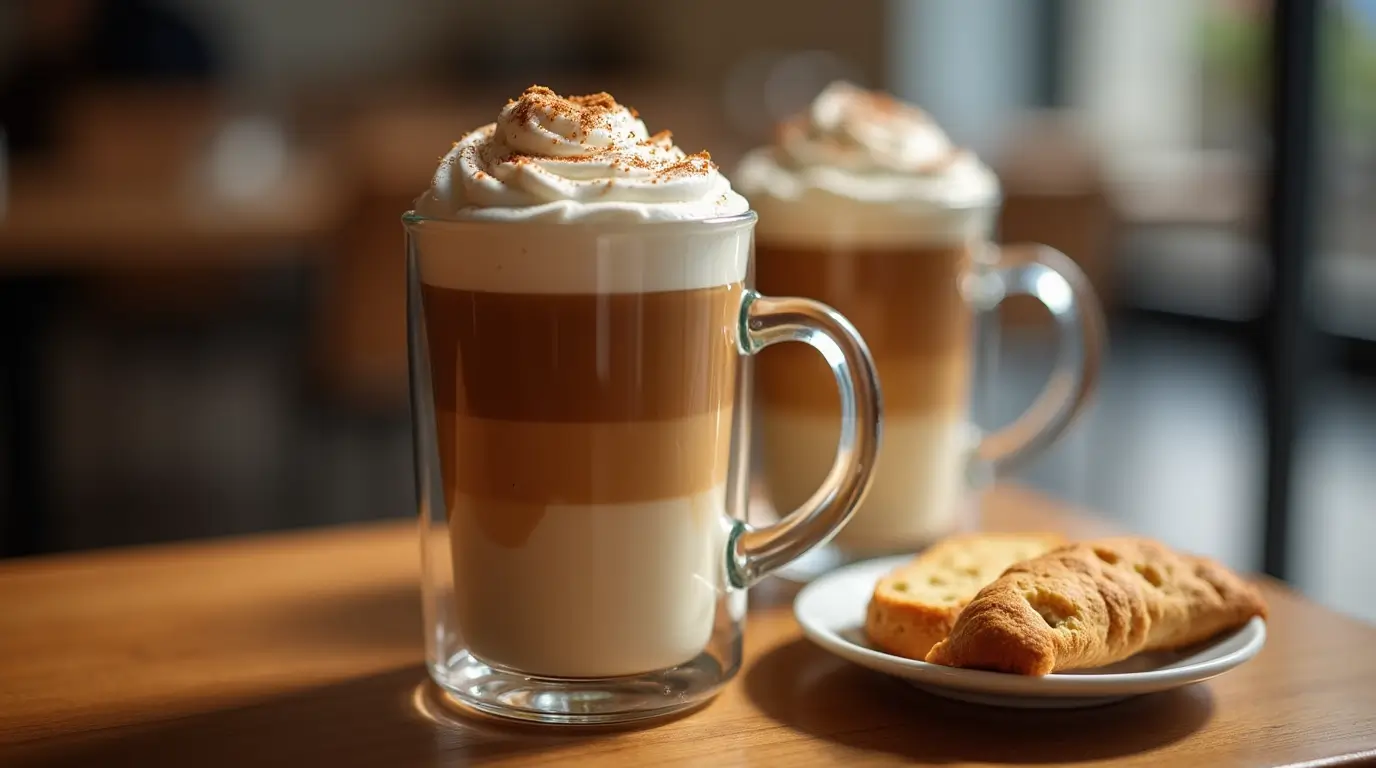
Hold back the foam with a spoon and pour the hot milk into your cup first. Then spoon the foam on top to create that classic latte layering effect. For an iced vanilla latte, fill a tall glass with ice cubes before pouring in the espresso-vanilla mixture, followed by cold milk.
Step 6: Garnish and Serve
Lightly dust the top of your vanilla latte with cinnamon or vanilla bean powder for an aromatic finishing touch. Serve immediately for the optimal temperature and foam consistency.
Presentation tip: The visual appeal of your latte enhances the overall experience. Consider using a clear glass mug to showcase the beautiful layers of your creation.
Nutritional Information
Based on using whole milk and regular vanilla syrup:
- Calories: 230
- Protein: 9g
- Fat: 9g
- Carbohydrates: 28g (22g from sugars)
- Caffeine: Approximately 120mg
Nutritional insights: A homemade vanilla latte contains approximately 40% fewer calories and 60% less sugar than the average coffee shop version, which typically contains around 380 calories and 35g of sugar.
Healthier Alternatives for the Recipe
Transform your vanilla latte into a nutritional powerhouse with these modifications:
- Reduced-sugar option: Use sugar-free vanilla syrup or make your own with monk fruit sweetener and vanilla bean paste
- Higher-protein version: Add a tablespoon of collagen peptides or a quarter teaspoon of vanilla protein powder
- Anti-inflammatory boost: Incorporate a quarter teaspoon of ceylon cinnamon into your vanilla syrup
- Dairy-free alternative: Combine equal parts cashew and oat milk for a creamy texture similar to whole milk, without the dairy
- Caffeine-sensitive option: Use half decaf and half regular espresso for reduced caffeine content while maintaining flavor
Serving Suggestions
Elevate your vanilla latte experience with these creative pairings:
- Morning perfection: Serve alongside a warm croissant or banana bread for a balanced breakfast
- Afternoon pick-me-up: Pair with dark chocolate squares for complementary flavor notes
- Dessert replacement: Create a “dessert latte” by adding a light whipped cream topping and a drizzle of caramel
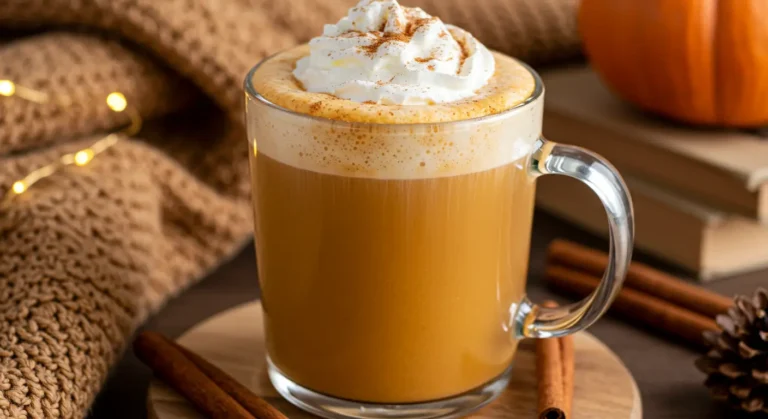
- Seasonal variations: Add a drop of peppermint extract during winter months or a dash of pumpkin spice in fall
- Temperature contrast: Serve hot vanilla lattes with chilled biscotti for an interesting sensory experience
Common Mistakes to Avoid
Even experienced home baristas make these errors when crafting vanilla lattes:
- Overheating milk: Temperatures above 160°F (71°C) break down proteins and create a burnt taste. Use a thermometer until you develop a feel for proper temperature.
- Adding vanilla syrup last: This prevents proper integration with the espresso. Always add flavoring before the coffee component.
- Using old coffee beans: Coffee begins losing flavor 2-3 weeks after roasting. Data shows that freshly ground beans increase aromatic compounds by over 60%.
- Impatient frothing: 45% of home baristas don’t froth long enough. The proteins in milk need time to create stable bubbles.
- Poor quality vanilla: Artificial vanilla can contain chemical compounds that impart a bitter aftertaste. Real vanilla extract contains over 250 flavor compounds for complex taste.
- Ignoring water quality: Coffee is 98% water. Filtered water improves flavor by removing chlorine and mineral imbalances that can affect extraction.
Storing Tips for the Recipe
Maximize convenience and freshness with these storage strategies:
- Homemade vanilla syrup: Store in an airtight container in the refrigerator for up to 2 weeks. Add a tablespoon of vodka to extend shelf life to 1 month.
- Batch preparation: Brew extra espresso and store in the refrigerator for up to 48 hours for quick iced vanilla lattes.
- Milk frothing ahead of time: Unfortunately, frothed milk doesn’t hold its texture. Always froth just before serving.
- Pre-measured ingredients: Create “latte kits” with pre-measured vanilla syrup in small containers for grab-and-go preparation.
- Coffee bean freshness: Store whole beans in an opaque, airtight container away from heat, light, and moisture. Avoid refrigeration, which can introduce damaging humidity.
Conclusion
Creating a perfect vanilla latte at home combines simple techniques with quality ingredients for a café-worthy result in just 5 minutes. By controlling the espresso strength, milk texture, and vanilla intensity, you can customize your beverage exactly to your preferences while saving time and money. Try this recipe tomorrow morning and experience the satisfaction of crafting your own perfect vanilla latte! Share your results in the comments section, or tag us in your latte art photos. Subscribe to our newsletter for weekly coffee inspiration and recipes.
FAQs
What’s the difference between a vanilla latte and a vanilla cappuccino? A vanilla latte contains more steamed milk and less foam than a cappuccino. Lattes typically have a ratio of 1:3:1 (espresso:milk:foam), while cappuccinos have a 1:1:1 ratio, creating a stronger coffee flavor and lighter texture.
Can I make a vanilla latte without an espresso machine? Absolutely! Use a Moka pot, AeroPress, or very strong French press coffee as your base. The key is creating a concentrated coffee that won’t get diluted by the milk.
How can I create latte art on my vanilla latte? Start with properly textured milk (velvety, not bubbly), pour from about 6 inches above the cup initially, then bring the pitcher closer and increase flow while making gentle movements. Practice is essential—most baristas train for weeks to perfect basic patterns.
Is a vanilla latte healthier than regular coffee? A vanilla latte contains more calories and sugar than black coffee due to the milk and flavoring. However, compared to other flavored coffee drinks, a homemade vanilla latte can be relatively moderate in calories and customizable to your nutritional needs.
Why does my vanilla latte taste bitter? Bitterness usually comes from over-extracted coffee (ground too fine or brewed too long), burnt milk (heated above 160°F), or low-quality vanilla syrup with artificial ingredients. Adjust each component separately to identify the cause.
How can I make my vanilla latte stronger? Add an additional shot of espresso while keeping the milk quantity the same. Alternatively, use a darker roast coffee bean, which typically contains less caffeine but provides a more robust flavor profile.
Your Feedback Matters
There are no reviews yet. Be the first one to write one.


One Comment
Comments are closed.