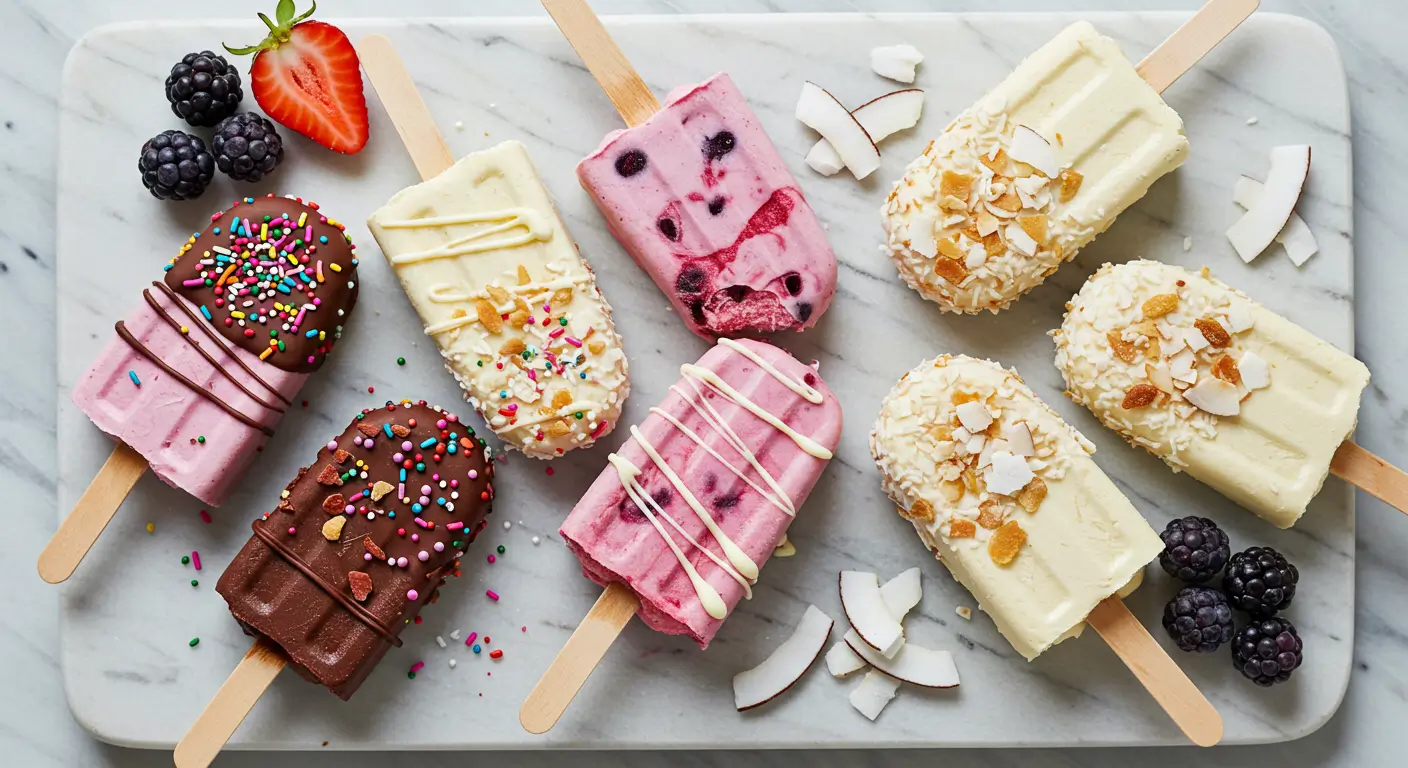
Homemade Ice Cream Bar: 3 Easy Variations to Try
How many additives and artificial ingredients are lurking in your favorite store-bought frozen treats? The average commercial ice cream bar contains up to 15 ingredients, many unpronounceable and unnecessary. Creating your own homemade ice cream bar not only puts you in control of every ingredient but also unlocks a world of flavor possibilities beyond what’s available in grocery freezers. Whether you’re looking to recreate childhood favorites or experiment with gourmet combinations, these three homemade ice cream bar variations will transform your dessert game while satisfying your sweet tooth with wholesome, customizable ingredients.
Table of Contents
Ingredients List
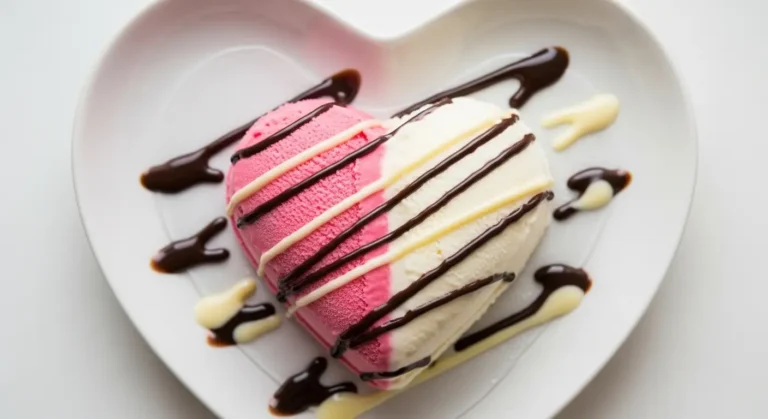
Classic Vanilla Dipped Ice Cream Bar
For the Ice Cream Base:
- 2 cups heavy cream (cold)
- 1 can (14 oz) sweetened condensed milk
- 2 teaspoons pure vanilla extract
- 1 vanilla bean, seeds scraped (optional, for intense flavor)
- Pinch of sea salt
For the Chocolate Coating:
- 8 ounces high-quality dark or milk chocolate, chopped
- 2 tablespoons coconut oil or refined cocoa butter
- Optional toppings: chopped nuts, sprinkles, or crushed cookies
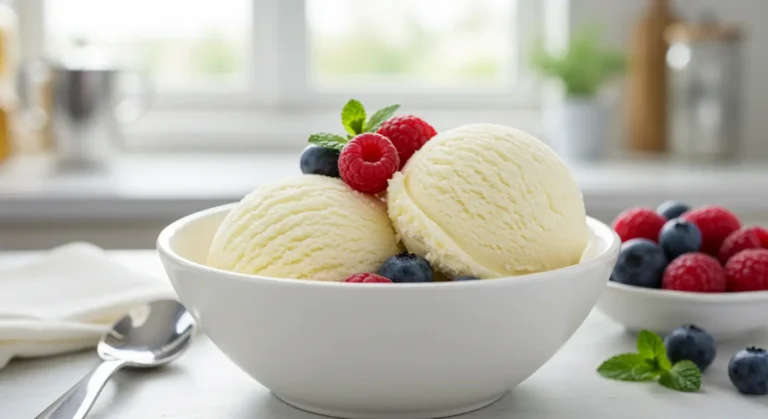
Berry Swirl Yogurt Ice Cream Bar
For the Yogurt Base:
- 2 cups plain Greek yogurt (full-fat for creamiest results)
- ½ cup honey or maple syrup
- 1 tablespoon lemon juice
- 1 teaspoon vanilla extract
For the Berry Swirl:
- 1 cup fresh or frozen berries (strawberries, blueberries, or raspberries)
- 2 tablespoons sugar or honey
- 1 tablespoon lemon juice
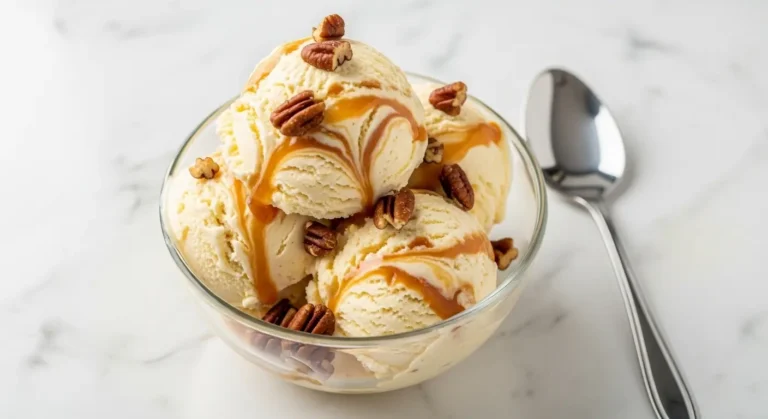
Tropical Coconut Ice Cream Bar
For the Coconut Base:
- 1 can (13.5 oz) full-fat coconut milk
- 1 can (14 oz) sweetened condensed milk
- ½ cup shredded unsweetened coconut, lightly toasted
- 1 teaspoon coconut extract
- ¼ teaspoon sea salt
For the Topping:
- 1 cup white chocolate, chopped
- 1 tablespoon coconut oil
- ½ cup toasted coconut flakes
- ¼ cup finely chopped dried mango or pineapple
Equipment for All Variations:
- Ice cream bar molds or popsicle molds
- Wooden popsicle sticks
- Mixing bowls
- Hand mixer or stand mixer
- Spatula
- Baking sheet lined with parchment paper
Substitution Options:
- For dairy-free ice cream bars: Use coconut cream instead of heavy cream and dairy-free chocolate
- For lower sugar options: Use monk fruit sweetener or stevia in place of sugar
- For gluten-free variations: Ensure all ingredients are certified gluten-free
- Flavor enhancers: Add 1 teaspoon of espresso powder to chocolate coating for depth, or ¼ teaspoon almond extract to vanilla base
Timing
Preparation Time: 25 minutes
Freezing Time: 4-6 hours (minimum) for initial freeze
Dipping/Finishing Time: 15 minutes
Additional Freezing Time: 30 minutes
Total Time: 5-7 hours (mostly inactive freezing time)
Step-by-Step Instructions
Step 1: Prepare Your Ice Cream Base
For all three homemade ice cream bar variations, begin by creating a smooth, flavorful base:
For Classic Vanilla:
- Chill a large mixing bowl in the freezer for 15 minutes
- Pour cold heavy cream into the chilled bowl
- Using an electric mixer, whip cream until stiff peaks form (about 3 minutes)
- In a separate bowl, combine condensed milk, vanilla extract, vanilla bean seeds, and salt
- Gently fold the whipped cream into the condensed milk mixture using a spatula
- Continue folding until no streaks remain, maintaining as much air as possible
For Berry Swirl Yogurt:
- In a bowl, combine Greek yogurt, honey, lemon juice, and vanilla, whisking until smooth
- In a small saucepan, cook berries with sugar and lemon juice over medium heat for 5-7 minutes
- Mash berries with a fork or blend for a smoother consistency
- Cool berry mixture completely in the refrigerator
- Gently fold most of the berry mixture into the yogurt base, reserving 2-3 tablespoons
For Tropical Coconut:
- Combine coconut milk and condensed milk in a large bowl
- Whisk vigorously until smooth and fully incorporated
- Fold in toasted shredded coconut, coconut extract, and salt
- Let mixture rest for 5 minutes to allow coconut to slightly hydrate
Step 2: Fill and Freeze Your Ice Cream Bar Molds
Transform your flavorful base into perfectly shaped homemade ice cream bars:
- Pour your prepared base into ice cream bar molds, leaving about ¼ inch space at the top for expansion
- For Berry Swirl bars, add remaining berry mixture and use a skewer to create swirls
- Tap molds gently on counter to remove air bubbles
- Insert popsicle sticks, ensuring they’re centered and stable
- Cover molds with their lids or aluminum foil
- Freeze for at least 4-6 hours, preferably overnight
Setting Success: Ensure your freezer is set to 0°F (-18°C) or below for optimal freezing. Place molds on a flat surface in the freezer to maintain even shapes. If using a soft silicone mold, place it on a baking sheet first for stability.
Step 3: Prepare Coatings and Toppings
While your ice cream bars freeze, prepare the delicious outer layers that will transform your homemade treats:
For Classic Vanilla Dipped:
- Create a double boiler by placing a heat-safe bowl over a pot of simmering water
- Add chopped chocolate and coconut oil to the bowl
- Stir continuously until completely melted and smooth
- Remove from heat and let cool until lukewarm but still fluid
- Prepare toppings in separate shallow dishes for easy access
For Berry Swirl Yogurt:
- These are delightful uncoated, but for an optional white chocolate drizzle:
- Melt ½ cup white chocolate chips with 1 teaspoon coconut oil
- Transfer to a small ziplock bag with corner snipped off for easy drizzling
For Tropical Coconut:
- Melt white chocolate and coconut oil using the double boiler method
- Remove from heat and allow to cool slightly
- Mix toasted coconut flakes with chopped dried tropical fruit in a shallow dish
Step 4: Unmold and Decorate Your Ice Cream Bars
The final transformation of your homemade ice cream bars happens with unmolding and decorating:
- Prepare a baking sheet lined with parchment paper
- Fill a large bowl or container with warm (not hot) water
- Briefly dip the outside of the molds into warm water (2-3 seconds)
- Gently pull on the sticks to release the ice cream bars
- Place unmolded bars on the prepared baking sheet
- Return to freezer for 15-30 minutes to re-firm before dipping
For Classic Vanilla Dipped:
- Working quickly with one bar at a time, dip into chocolate coating
- Allow excess to drip off, then immediately sprinkle with desired toppings
- Place on parchment paper and return to freezer immediately
For Berry Swirl Yogurt:
- Drizzle with prepared white chocolate in a zigzag pattern
- Sprinkle with freeze-dried berry powder if desired
- Return to freezer immediately
For Tropical Coconut:
- Dip in white chocolate coating
- Immediately press coconut-fruit mixture onto all sides
- Place on parchment and return to freezer
Dipping Dilemma Solved: If bars begin to melt during dipping, return them to the freezer for 15 minutes before continuing. For easier handling, work with only 2-3 bars at a time, keeping the rest frozen until ready to dip.
Nutritional Information
Approximate nutritional values per serving (1 ice cream bar):
Classic Vanilla Dipped Ice Cream Bar
• Calories: 320 • Total Fat: 22g • Saturated Fat: 15g • Cholesterol: 55mg • Sodium: 90mg • Total Carbohydrates: 28g • Dietary Fiber: 1g • Sugars: 25g • Protein: 4g
Berry Swirl Yogurt Ice Cream Bar
• Calories: 180 • Total Fat: 6g • Saturated Fat: 4g • Cholesterol: 15mg • Sodium: 45mg • Total Carbohydrates: 25g • Dietary Fiber: 0.5g • Sugars: 23g • Protein: 7g
Tropical Coconut Ice Cream Bar
• Calories: 290 • Total Fat: 19g • Saturated Fat: 16g • Cholesterol: 15mg • Sodium: 85mg • Total Carbohydrates: 30g • Dietary Fiber: 2g • Sugars: 26g • Protein: 3g
Healthier Alternatives for the Recipe
Transform your homemade ice cream bars into treats that align with various dietary preferences:
Lower Sugar Options:
- Replace sweetened condensed milk with 1 cup heavy cream + ⅓ cup monk fruit sweetener
- Use stevia-sweetened chocolate for coating
- Try unsweetened applesauce as a partial sweetener in fruit-based variations
- Incorporate naturally sweet fruits like bananas and dates to reduce added sugars
Dairy-Free Adaptations:
- Substitute coconut cream for heavy cream in the classic recipe
- Use almond milk yogurt in the berry swirl version
- Try cashew-based cream for a rich, neutral dairy alternative
- Select dairy-free chocolate options for coatings
Protein-Enhanced Variations:
- Add 2 tablespoons of unflavored collagen peptides to any base
- Incorporate ¼ cup vanilla or unflavored protein powder into yogurt-based bars
- Use Greek yogurt in place of some cream for higher protein content
- Add 2 tablespoons of nut butter to the base mixture
Common Mistakes to Avoid
Sidestep these pitfalls to ensure perfect homemade ice cream bars every time:
- Rushing the freezing process: Insufficient freezing leads to bars that fall apart during unmolding or dipping. Allow at least 6 hours for the initial freeze and 30 minutes after coating.
- Using warm ingredients: Starting with cold ingredients results in smoother texture and faster freezing. Chill your mixing bowl and whipping cream for at least 15 minutes before starting.
- Overbeating the mixture: Once you reach stiff peaks in whipped components, stop beating. Overwhipping can create a butter-like texture that won’t freeze properly.
- Improper chocolate-to-oil ratio: Too little oil makes chocolate coating crack and fall off; too much prevents proper hardening. Maintain the 4:1 chocolate-to-oil ratio.
- Dipping bars when too soft: If bars begin to melt during dipping, return them to the freezer immediately for 15-30 minutes before continuing.
- Using water-based food coloring: Water can cause chocolate to seize. Use oil-based or powdered food coloring for coatings.
- Forgetting to tap molds: Air bubbles create weak spots in frozen bars. Tap filled molds several times on the counter before freezing.
Storing Tips for the Recipe
Maintain the quality of your homemade ice cream bars with these storage strategies:
Short-Term Storage:
- Once fully set, wrap each bar individually in wax paper or parchment paper
- Store wrapped bars in an airtight container with a lid
- Place container in the coldest part of your freezer, away from the door
- Consume within 2 weeks for best quality
Long-Term Preservation:
- For storage beyond 2 weeks, double-wrap bars in wax paper and then aluminum foil
- Label packages with date and flavor
- Store in zip-top freezer bags with air removed
- Properly stored, bars will maintain quality for up to 2 months
Preventing Freezer Burn:
- Ensure bars are completely frozen before wrapping
- Minimize air exposure by wrapping tightly
- Consider investing in vacuum-seal bags for longer storage
- Store at consistent temperatures below 0°F (-18°C)
Transportation Tips:
- When taking bars to events, pack in an insulated container with ice packs
- Pre-freeze the container for 30 minutes before packing
- Layer bars between sheets of frozen ice packs
- Transport quickly and return to freezer immediately upon arrival
Conclusion
Homemade ice cream bars offer a perfect balance of nostalgic appeal and creative customization. With just a handful of quality ingredients and some patience during the freezing stages, you can create treats that surpass commercial options in both flavor and ingredient quality. From classic chocolate-dipped vanilla to exotic tropical variations, these homemade creations deliver professional results without specialized equipment. Try these recipes today and discover why handcrafted ice cream bars deserve a permanent place in your dessert repertoire. Share your results and creative variations in the comments section below—we’d love to see your sweet creations!
FAQs
Q: Why did my chocolate coating crack and fall off the ice cream bar?
A: This typically happens when the chocolate-to-oil ratio is incorrect or when the coating is applied too thickly. Ensure you’re using the recommended 4:1 ratio of chocolate to coconut oil and allow excess coating to drip off before freezing. The slight flexibility from the oil prevents cracking during temperature changes.
Q: How can I prevent ice crystals in my homemade ice cream bars?
A: Ice crystals form when moisture molecules reorganize during freezing. To minimize them: use high-fat ingredients, incorporate air through proper whipping, ensure ingredients are well-mixed, freeze quickly at very cold temperatures, and avoid temperature fluctuations during storage.
Q: How do I prevent the popsicle sticks from shifting during freezing?
A: After inserting sticks, freeze bars for about 30 minutes until partially set, then check stick alignment and reposition if necessary. Continue freezing until solid. Alternatively, cover molds with aluminum foil, poke holes for sticks, and use the foil as a guide to keep sticks centered.
Q: My bars melt too quickly when I’m trying to coat them. What am I doing wrong?
A: Ensure bars are thoroughly frozen solid (minimum 6 hours, preferably overnight) before dipping. Work with just 2-3 bars at a time, keeping the rest in the freezer. Your coating should be cooled to lukewarm (not hot), and work quickly in a cool room. If needed, place a frozen ice pack under your dipping station to maintain cold temperatures.
Your Feedback Matters
There are no reviews yet. Be the first one to write one.