
Healthy Granola Breakfast: How to Make It at Home
The average American household spends over $400 annually on breakfast cereals, many loaded with refined sugars and preservatives. Homemade healthy granola transforms your morning routine with nutrient-dense ingredients while cutting grocery costs substantially. This simple recipe combines wholesome oats, natural sweeteners, and customizable mix-ins to create a breakfast that nourishes your body and delights your taste buds. Your recipe for homemade healthy granola isn’t just delicious—it’s an investment in your wellbeing that pays dividends with every crunchy, satisfying bite.
Table of Contents
Ingredients List
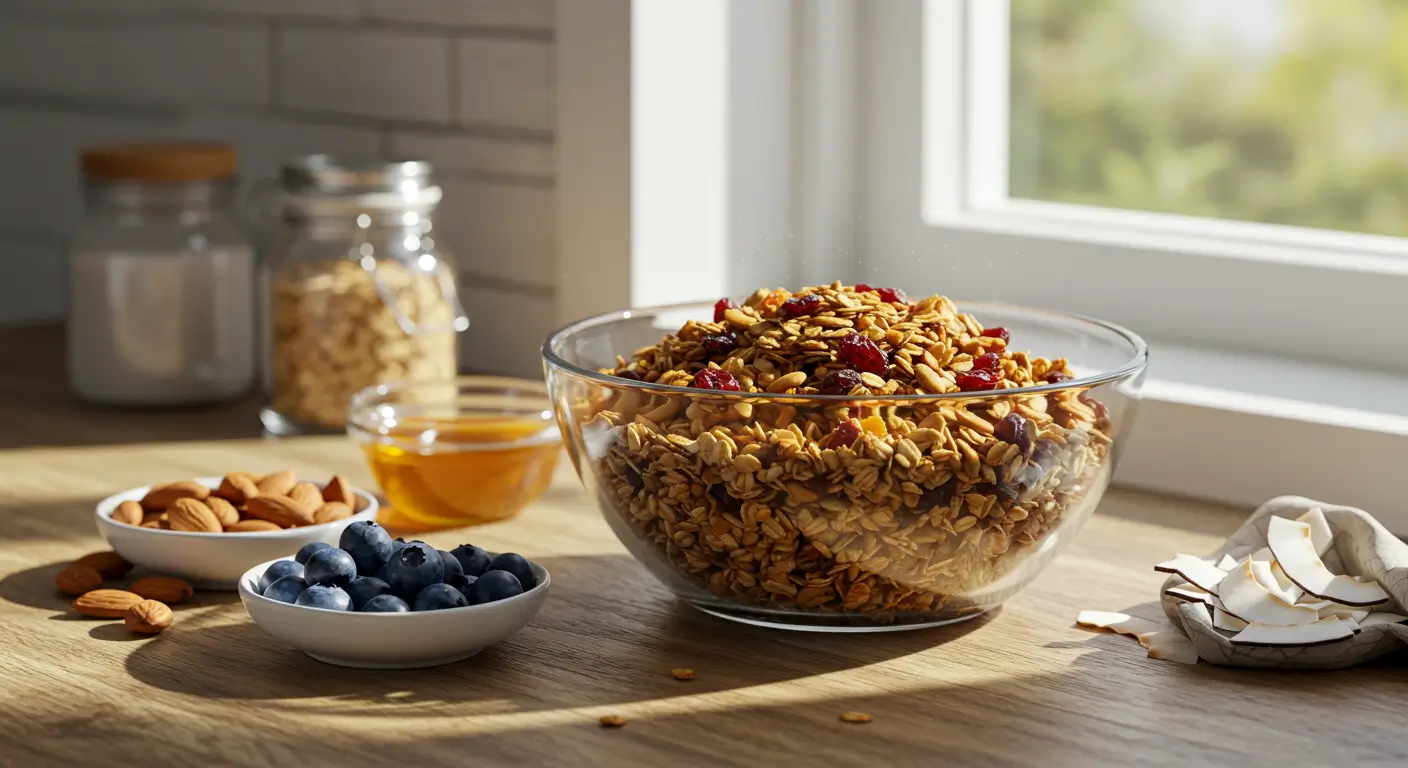
For your base healthy granola recipe, gather these wholesome ingredients:
- 3 cups rolled oats (not quick-cooking)
- 1 cup raw nuts (almonds, walnuts, pecans, or a mixture)
- ½ cup seeds (sunflower, pumpkin, or flax)
- ½ cup unsweetened coconut flakes
- ½ teaspoon sea salt
- ½ teaspoon cinnamon
- ⅓ cup coconut oil, melted
- ⅓ cup natural sweetener (maple syrup, honey, or agave)
- 1 teaspoon vanilla extract
- ½ cup dried fruit (optional, added after baking)
Ingredient Substitutions:
- Allergic to nuts? Replace with additional seeds or puffed rice
- Watching sugar intake? Reduce sweetener to ¼ cup and add ¼ teaspoon of stevia
- Need gluten-free? Use certified gluten-free oats
- Avoiding oils? Substitute with unsweetened applesauce for a different texture
Each ingredient contributes specific nutritional benefits while the aromatic vanilla and cinnamon create that irresistible bakery-fresh scent that fills your kitchen.
Timing
Preparation time: 10 minutes Cooking time: 25 minutes Cooling time: 15 minutes Total time: 50 minutes
Your homemade healthy granola comes together significantly faster than store-bought varieties take to select, purchase, and bring home. This efficient process saves valuable morning time while delivering fresher results with customized flavors tailored to your preferences.
Step-by-Step Instructions
Step 1: Prepare Your Workspace
Preheat your oven to 325°F (165°C) and line a large baking sheet with parchment paper, ensuring it extends slightly over the edges. This moderate temperature perfectly toasts granola without burning delicate ingredients. Gather all measuring tools and ingredients before starting to ensure your healthy granola combines properly without overlooking any components. A clean, organized workspace makes the entire process more enjoyable and efficient.
Step 2: Combine Dry Ingredients
In a large mixing bowl, combine the rolled oats, nuts, seeds, coconut flakes, sea salt, and cinnamon. Use a wooden spoon to mix thoroughly for about 30 seconds, lifting from the bottom and folding over repeatedly. This careful mixing ensures smaller ingredients like salt and cinnamon distribute evenly throughout the oat base, preventing flavor pockets and ensuring consistent taste throughout your healthy granola. Pay attention to breaking up any clumped coconut flakes for even texture.
Step 3: Mix Wet Ingredients
In a separate small bowl, whisk together the melted coconut oil, natural sweetener, and vanilla extract until they form a smooth, uniform liquid. The warmth of the recently melted oil helps dissolve the sweetener and distribute the vanilla, creating a mixture that will coat your dry ingredients evenly. If your oil starts to solidify, place the bowl over warm water briefly to maintain liquidity. Ensure there are no separate oil layers floating on top of the sweetener to achieve even distribution in your finished granola.
Step 4: Combine Everything
Pour the wet ingredients over the dry mixture in a slow, circular motion while stirring with a sturdy wooden spoon. Continue mixing for 1-2 minutes until every piece is lightly coated with the wet mixture. Take your time here—thorough mixing ensures proper browning and ideal cluster formation in your healthy granola. Every oat flake should glisten slightly, with no dry powdery spots remaining. For larger chunks, press portions of the mixture firmly together during this stage. For looser granola, ensure even coating without compressing.
Step 5: Spread on Baking Sheet
Transfer the mixture to your prepared baking sheet, spreading it in an even layer about ½-inch thick. For clustery granola, use the back of a measuring cup to press the mixture down firmly across the entire surface. For looser texture, spread more gently while ensuring even distribution. The thickness significantly affects cooking time—too thin may burn before properly toasting; too thick means the center might remain soft while edges overcook. Maintain consistency across the pan for perfectly textured healthy granola.
Step 6: Bake to Perfection
Place the baking sheet on the middle rack and bake for exactly 10 minutes. Then remove the pan, gently stir the granola from the edges toward the center and back out again, and rotate the pan 180 degrees before returning it to the oven. Continue baking for another 10-15 minutes, checking every 5 minutes toward the end. Your healthy granola should gradually turn golden brown and fill your kitchen with toasty, sweet aromas. Remove when medium golden brown, remembering it will continue darkening slightly during cooling.
Step 7: Cool Completely
Allow your healthy granola to cool completely on the baking sheet without stirring—about 30-45 minutes at room temperature. This crucial step creates those desirable clusters that make homemade granola so satisfying. During cooling, the sugars solidify and bind ingredients together, while the oils help create crisp edges. The granola continues cooking slightly from residual heat, achieving perfect crispness. Resist the temptation to taste or disturb the granola during this period, as premature handling breaks apart forming clusters.
Step 8: Add Dried Fruits
Once completely cooled, gently fold in your chosen dried fruits using a wooden spoon or clean hands. Work carefully to preserve the clusters, folding rather than stirring vigorously. Adding these ingredients after baking prevents burning and maintains their natural softness, creating pleasant textural contrast with your crunchy healthy granola base. This strategic addition preserves the fruits’ sweetness and creates visual appeal with bright color pops throughout the golden base. Break apart any excessively large clusters into bite-sized pieces perfect for topping yogurt or eating as a nutritious snack.
Nutritional Information
Your homemade healthy granola delivers substantial nutritional benefits per ½ cup serving:
- Calories: 210
- Protein: 5g
- Carbohydrates: 24g
- Fats: 12g (primarily healthy unsaturated fats)
- Vitamin E: 15% DV
- Magnesium: 20% DV
- Iron: 10% DV
This healthy granola recipe contains significantly less sugar and more protein than typical commercial varieties, supporting sustained energy levels throughout your morning.
Healthier Alternatives for the Recipe
Transform your healthy granola to meet specific dietary needs:
- Lower Sugar Version: Reduce maple syrup/honey by half and add 1 teaspoon of cinnamon plus ¼ teaspoon of cardamom to enhance perceived sweetness without added sugars.
- Higher Protein Option: Incorporate ¼ cup of unflavored protein powder and increase nuts to 1½ cups for a protein-packed breakfast that keeps hunger at bay longer.
- Anti-Inflammatory Focus: Add 2 teaspoons of ground turmeric, ½ teaspoon of black pepper, and substitute walnuts as your primary nut for their omega-3 content.
- Heart-Healthy Adaptation: Include 2 tablespoons of ground flaxseed, use only heart-healthy nuts like walnuts and almonds, and add a dash of cinnamon to support cardiovascular health.
Each variation maintains the core essence of your healthy granola while addressing specific nutritional goals.
Serving Suggestions
Elevate your healthy granola experience with these serving ideas:
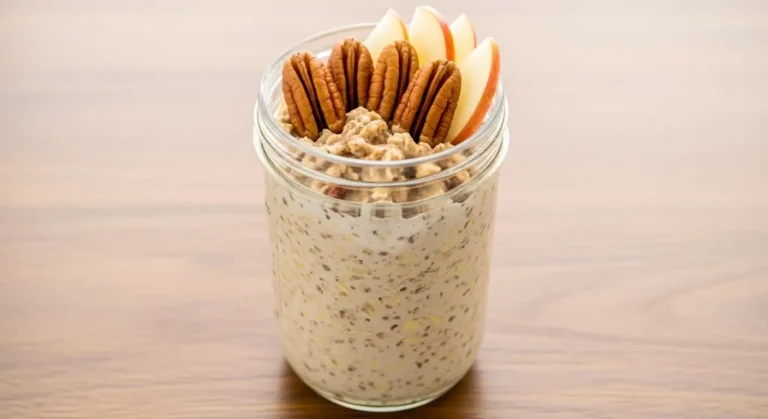
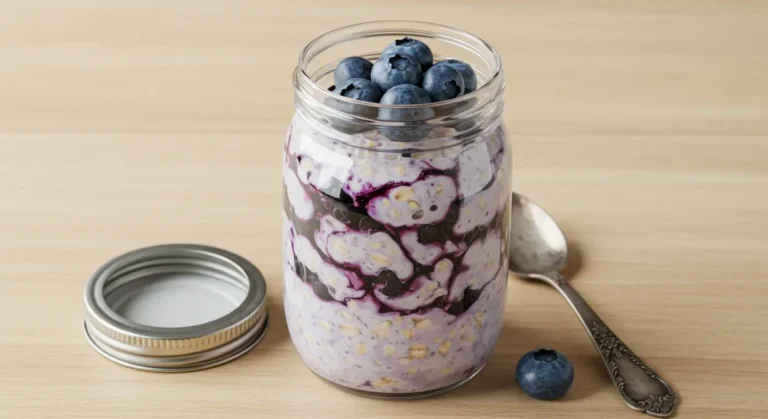
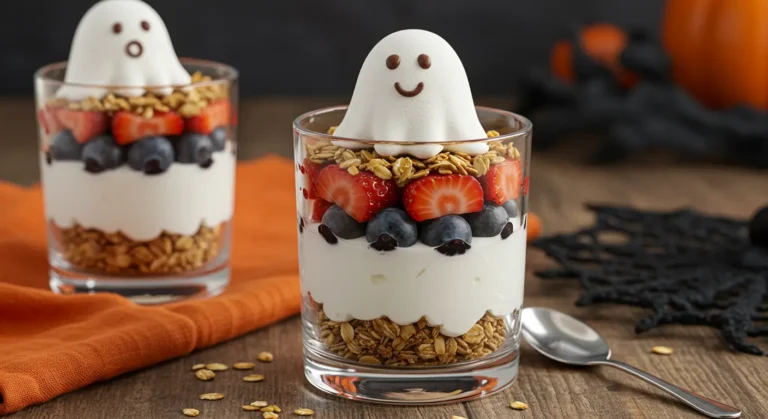
- Layer with Greek yogurt and fresh berries in a parfait glass for an elegant breakfast
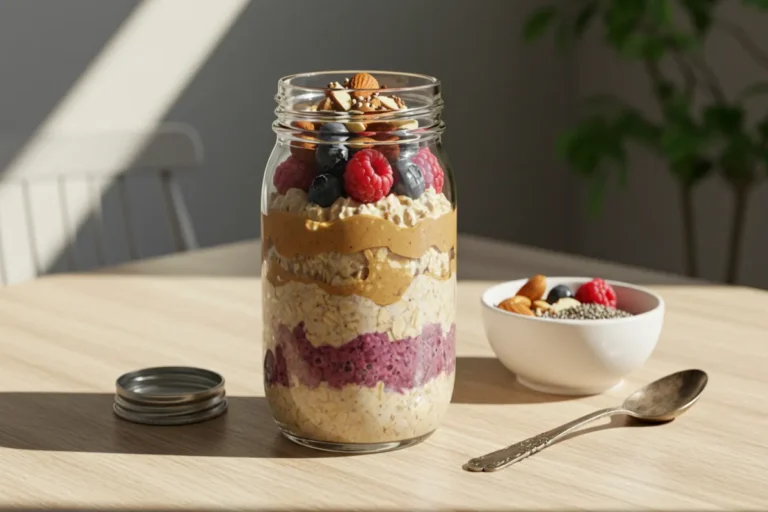
- Sprinkle over sliced bananas and a drizzle of almond butter for a satisfying snack
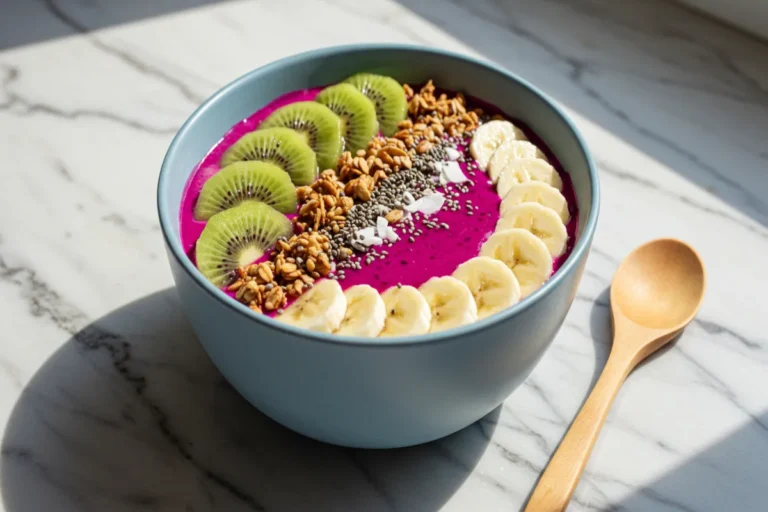
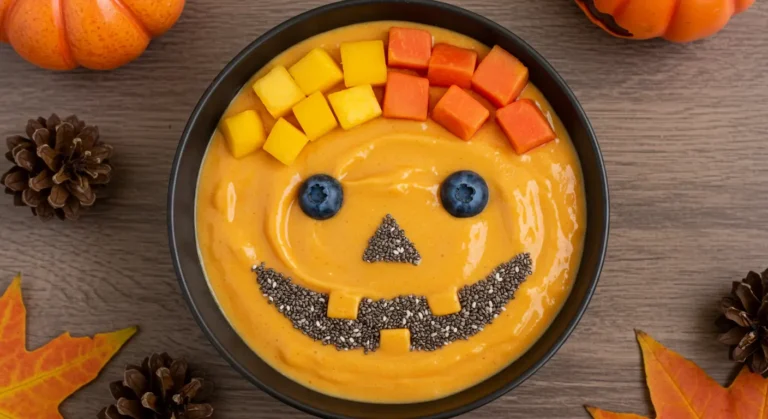
- Add to smoothie bowls as a crunchy topping that provides textural contrast
- Mix with warm milk and a dash of cinnamon for a comforting cold-weather breakfast
- Pack in small containers for on-the-go energy boosts during busy days
- Create a breakfast board with your healthy granola as the centerpiece, surrounded by milk options, fruits, and honey
For special occasions, warm a serving in the oven for 5 minutes before serving—this revitalizes the aromas and enhances the flavors of your healthy granola.
Common Mistakes to Avoid
Watch for these potential pitfalls when making your healthy granola:
- Overcrowding the baking sheet: This prevents proper airflow and results in steaming rather than toasting. Use two baking sheets if necessary for crispy, evenly browned healthy granola.
- Oven temperature too high: Granola burns quickly due to its high fat content. Lower your oven temperature by 25°F if you notice excessive browning before the cooking time completes.
- Stirring after baking: This breaks apart those desirable clusters. Allow your healthy granola to cool completely on the sheet before handling.
- Adding dried fruit before baking: This leads to hard, burnt fruit. Always add these delicate ingredients after baking and cooling.
- Using inappropriate oats: Quick-cooking or instant oats turn mushy. Stick with traditional rolled oats for the ideal healthy granola texture.
- Skimping on salt: Even healthy granola needs that tiny salt amount to enhance sweetness and balance flavors. Don’t skip this crucial ingredient.
Storing Tips for the Recipe
Maximize freshness and flavor with these storage strategies:
Store your cooled healthy granola in airtight glass jars or containers rather than plastic bags. This preserves crispness and prevents moisture absorption for up to three weeks at room temperature.
For extended freshness, refrigerate your healthy granola in sealed containers for up to two months. The cooler temperature preserves oils in nuts and seeds, preventing rancidity.
Freeze portion-sized containers of granola for up to six months. Simply thaw at room temperature for 30 minutes before enjoying—no reheating necessary.
For ultimate convenience, pre-portion your healthy granola into individual serving containers at the beginning of the week. Grab-and-go breakfast solutions eliminate morning decision fatigue while ensuring consistent nutrition.
Conclusion
Your homemade healthy granola delivers nutrient-dense ingredients, customizable flavors, and satisfying crunch in one versatile recipe. By controlling the ingredients, you’ve created a breakfast that’s lower in sugar, higher in protein, and free from preservatives compared to commercial options. The simple preparation process yields delicious results that transform morning routines while supporting your wellness goals. Try this healthy granola recipe this week, and share your creative variations or serving suggestions in the comments section below!
FAQs
Q: Can I make this healthy granola without oil? A: Yes! Substitute the oil with an equal amount of unsweetened applesauce or mashed banana. The texture will be less crispy but still delicious with clusters that form during cooling.
Q: How do I know when my granola is perfectly baked? A: Your healthy granola should be fragrant and golden brown, not dark brown. Remember it continues to crisp as it cools, so don’t wait until it’s completely crunchy in the oven.
Q: Can I use steel-cut oats instead of rolled oats? A: Steel-cut oats aren’t recommended as they remain too hard even after baking. Stick with traditional rolled oats for the ideal healthy granola texture.
Q: Is this recipe appropriate for diabetics? A: With modifications, yes. Replace the sweetener with a low-glycemic alternative like monk fruit sweetener, use minimal dried fruit, and increase nuts and seeds for a diabetes-friendly version.
Q: Can I double this healthy granola recipe? A: Absolutely! Just use two baking sheets to maintain proper thickness and ensure even baking. Rotate and swap sheet positions halfway through baking.
Your Feedback Matters
There are no reviews yet. Be the first one to write one.
One Comment
Comments are closed.