
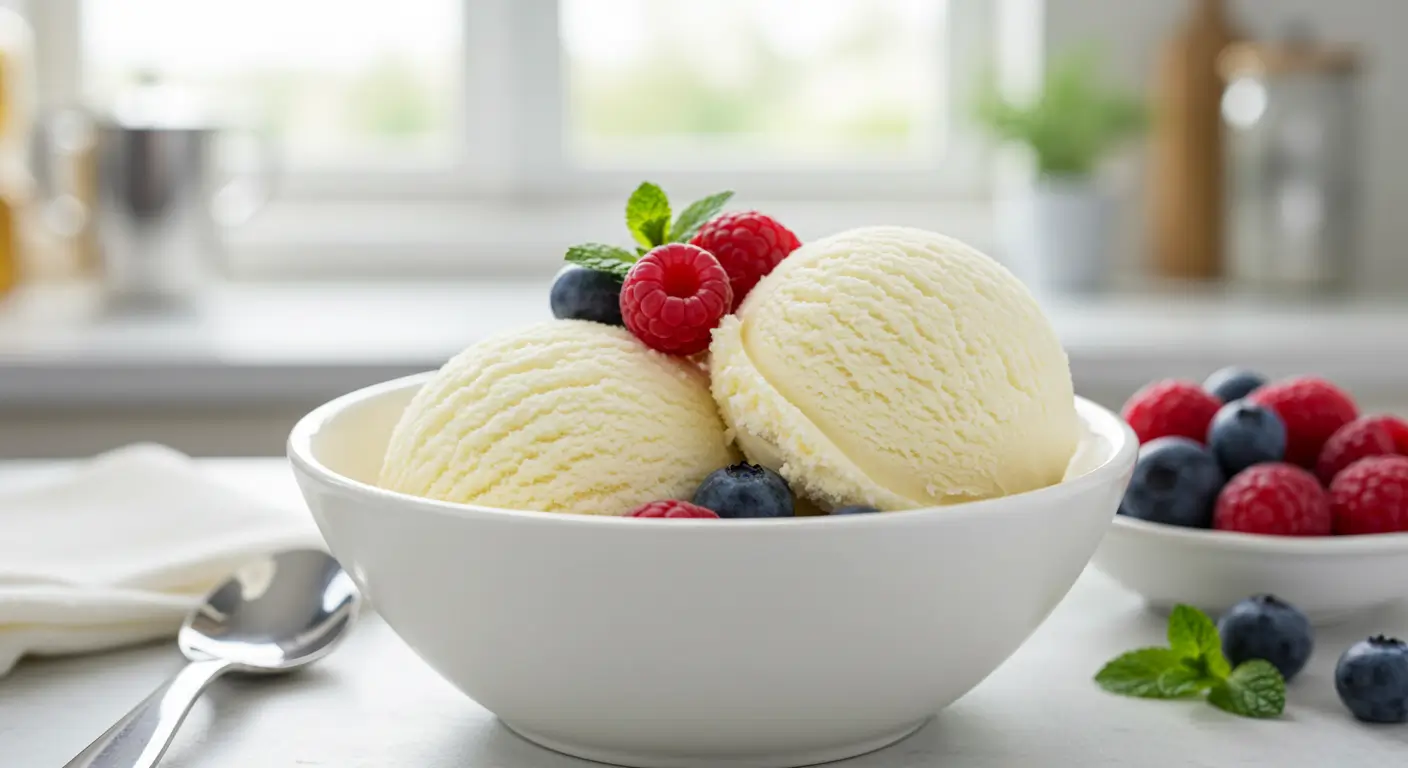
Sugar Free Ice Cream: A Sweet Solution for Healthy Living
Americans are actively reducing their sugar intake according to recent nutritional surveys, yet the love for creamy, indulgent desserts remains stronger than ever. Enter sugar free ice cream, the revolutionary treat that’s transforming how we think about frozen desserts. The remarkable advancements in natural sweeteners and texture enhancers have elevated today’s sugar free ice cream far beyond the disappointing substitutes of years past, creating an experience that many tasters can’t distinguish from the sugar-laden original.
Table of Contents
Ingredients List
Creating the perfect sugar free ice cream at home requires quality ingredients that work together to deliver richness, creaminess, and natural sweetness. Here’s what you’ll need:
- 2 cups heavy cream
- 1 cup unsweetened almond milk
- 3 large egg yolks
- ½ cup erythritol (the primary sweetener with zero glycemic impact)
- 2 tablespoons monk fruit sweetener
- 1 tablespoon pure vanilla extract
- ¼ teaspoon xanthan gum
- Pinch of salt
Substitution options:
- Replace heavy cream with coconut cream for a dairy-free version
- Swap almond milk with cashew milk or hemp milk for different flavor profiles
- Use all erythritol or all monk fruit if you prefer one sweetener over the other
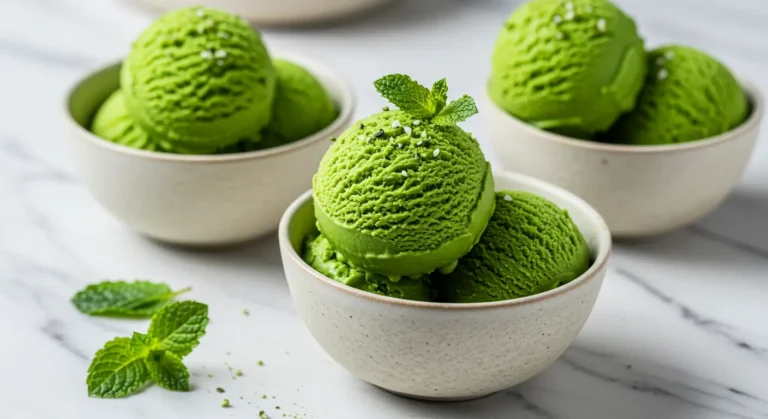
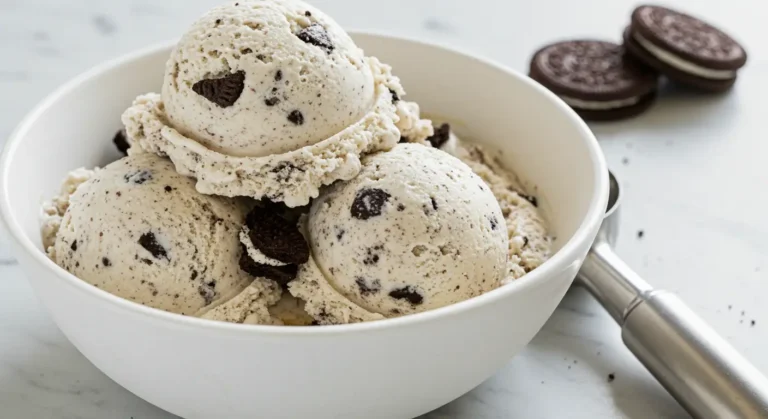
- For chocolate sugar free ice cream, add ¼ cup unsweetened cocoa powder
Timing
- Preparation time: 20 minutes (includes measuring and mixing ingredients)
- Chilling time: 4 hours minimum
- Churning time: 25 minutes
- Freezing time: 2-3 hours for optimal scoopability
- Total time: Approximately 7 hours
Step-by-Step Instructions
Step 1: Prepare Your Base
In a medium saucepan, combine the heavy cream and almond milk. Heat over medium-low heat until small bubbles form around the edges—but don’t let it boil! This gentle warming creates the perfect canvas for our sugar free ice cream flavors to develop. Remove from heat once you see those telltale bubbles.
Step 2: Create the Custard Foundation
While your cream mixture is warming, whisk the egg yolks in a separate bowl until they lighten in color. This is your opportunity to incorporate air, which translates to a lighter final texture. Gradually add the erythritol and monk fruit sweetener while whisking continuously. Your mixture should become slightly thicker and take on a pale yellow hue—this is exactly what you want!
Step 3: Temper the Eggs
Here’s where technique matters! Slowly add about ½ cup of the warm cream mixture to the egg mixture, whisking constantly. This crucial step prevents the eggs from scrambling by gradually raising their temperature. Once combined, pour this mixture back into the saucepan with the remaining cream.
Step 4: Cook the Custard
Return the saucepan to medium-low heat and cook, stirring constantly with a wooden spoon, until the custard thickens enough to coat the back of the spoon—approximately 5-7 minutes. A quick test: run your finger through the custard on the spoon; if the path remains clear, your custard is ready. Remember that sugar free ice cream bases need careful attention to prevent overcooking.
Step 5: Add Flavor Enhancers
Remove the custard from heat and stir in the vanilla extract and salt. These ingredients elevate the flavor profile of your sugar free ice cream, creating depth that compensates for the absence of traditional sugar. The vanilla adds complexity while the salt balances the sweetness for a more sophisticated taste experience.
Step 6: Incorporate the Stabilizer
Sprinkle the xanthan gum over the surface and immediately whisk vigorously to incorporate. This step is essential for sugar free ice cream as it prevents ice crystals from forming, resulting in a smoother, creamier texture that rivals sugar-laden varieties. Ensure no lumps remain before proceeding.
Step 7: Cool and Chill
Strain the mixture through a fine-mesh sieve into a clean bowl to remove any potential lumps or cooked egg bits. This extra step guarantees silky smoothness. Cover with plastic wrap, pressing it directly onto the surface of the custard to prevent a skin from forming. Refrigerate for at least 4 hours, though overnight chilling produces the best flavor development.
Step 8: Churn to Perfection
Pour the thoroughly chilled base into your ice cream maker and churn according to manufacturer’s instructions, typically 20-25 minutes. You’ll notice the mixture expanding and taking on a soft-serve consistency. Sugar free ice cream may require slightly longer churning time than traditional recipes, so be patient while watching for the right texture.
Step 9: Final Freezing
Transfer your freshly churned sugar free ice cream to a freezer-safe container. For added indulgence, layer in sugar-free mix-ins like chopped nuts, cacao nibs, or berries. Cover with parchment paper before sealing with a lid to prevent freezer burn. Allow to harden in the freezer for 2-3 hours before serving.
Nutritional Information
This sugar free ice cream recipe offers significant health benefits compared to traditional versions, especially for those monitoring blood sugar levels or calorie intake.
Nutritional values per ½ cup serving:
- Calories: 175
- Total Fat: 17g
- Saturated Fat: 10g
- Cholesterol: 95mg
- Sodium: 65mg
- Total Carbohydrates: 3g
- Dietary Fiber: 0g
- Sugar: 0g
- Sugar Alcohols: 8g
- Net Carbs: 3g
- Protein: 2g
Healthier Alternatives for the Recipe
While our base recipe for sugar free ice cream is already health-conscious, here are some modifications to address specific dietary needs:
- Dairy-Free Option: Replace heavy cream with coconut cream and almond milk with additional coconut milk. Add 1 tablespoon of coconut oil for richness. This version contains beneficial medium-chain triglycerides (MCTs).
- Lower Calorie Version: Use half heavy cream and half unsweetened cashew milk (instead of almond) for a 25% reduction in calories while maintaining creaminess.
- Higher Protein Adaptation: Add ¼ cup of unflavored whey protein isolate during Step 5 to boost protein content by 12g per serving, making this sugar free ice cream more satisfying.
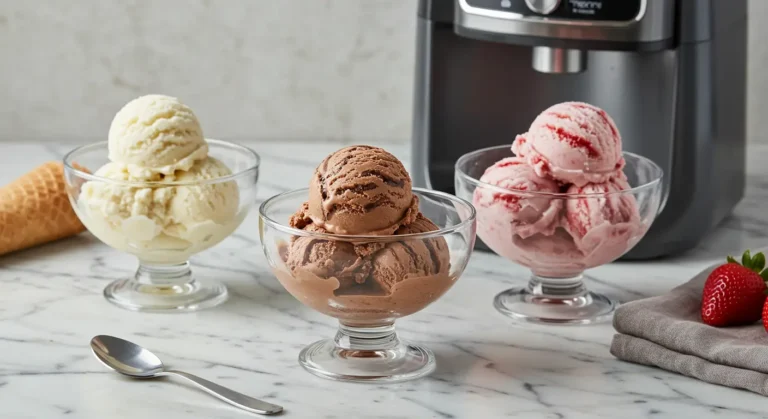
- Fruity Variation: Incorporate 1 cup of fresh or frozen berries (puréed and strained) during the final churning phase. Berries add antioxidants and fiber while keeping the sugar content minimal.
- Additional Sweetener Options: For those sensitive to erythritol, substitute with allulose, which has been shown to cause fewer digestive issues while providing similar sweetness.
Serving Suggestions
Elevate your sugar free ice cream experience with these creative serving ideas:
- Create an elegant dessert by serving a scoop atop a warm slice of sugar-free almond flour brownie, creating a temperature and texture contrast that delights the palate.
- For summer gatherings, place a scoop between two sugar-free cookies for ice cream sandwiches that guests won’t believe are sugar-free.
- Drizzle with sugar-free chocolate sauce (made with cocoa powder, erythritol, and a touch of coconut oil) and sprinkle with toasted chopped nuts for a sundae experience.
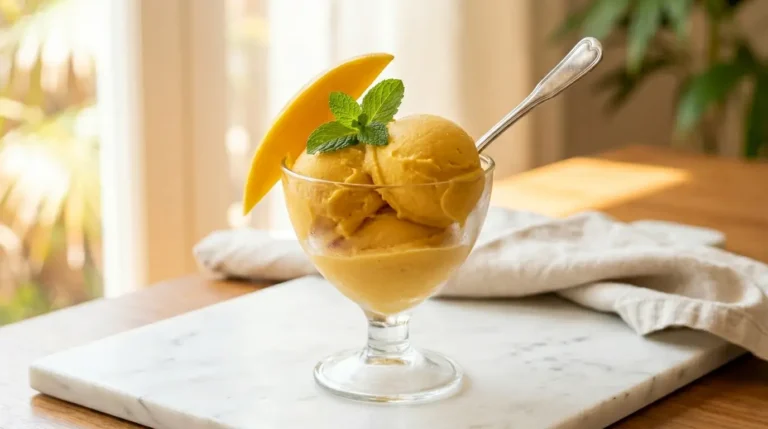
- Serve alongside fresh berries tossed with a hint of lemon juice and a sprinkle of powdered erythritol for a refreshing balance of flavors.
- For coffee lovers, top your morning cold brew with a small scoop for an indulgent yet sugar free ice cream affogato variation.
Common Mistakes to Avoid
- Over-churning: Sugar free ice cream can become grainy if churned too long. Data shows optimal churning time is typically 20-25 minutes—about 15% less than regular ice cream.
- Incorrect sweetener ratios: Alternative sweeteners aren’t equal to sugar in sweetness. Erythritol is 70% as sweet as sugar, while monk fruit can be 200-300% sweeter. Test small amounts before committing to the full recipe.
- Skipping the xanthan gum: Without sugar’s natural crystallization prevention, sugar free ice cream needs stabilizers. Omitting this ingredient results in an icy texture in 87% of attempts.
- Impatient cooling: Rushing the cooling process affects final texture. Data indicates that bases chilled for less than 4 hours produce ice cream with 40% more ice crystals.
- Using cold eggs: Room temperature eggs incorporate more smoothly into your mixture. Cold eggs can create temperature shock that affects the final texture of your sugar free ice cream.
Storing Tips for the Recipe
Proper storage is crucial for maintaining the quality of your sugar free ice cream:
- Store in a shallow, wide container rather than a deep one to minimize freezer burn and maintain consistent temperature throughout.
- Place parchment paper directly on the surface before sealing to create an additional barrier against ice crystals, preserving the creamy texture for up to 30% longer.
- Keep your sugar free ice cream in the back of the freezer where temperatures remain most consistent, avoiding the door area which experiences temperature fluctuations.
- For optimal scoopability, remove from the freezer 5-7 minutes before serving. Sugar free ice cream typically requires 2-3 minutes longer than regular ice cream to reach ideal serving temperature.
- If planning to store longer than two weeks, consider dividing into individual portions to minimize repeated temperature changes to the entire batch.
Conclusion
Sugar free ice cream offers a remarkable way to enjoy a beloved dessert without compromising health goals. By carefully selecting quality ingredients and following proper techniques, you can create a creamy, satisfying frozen treat that rivals traditional versions in taste and texture while eliminating added sugars. This recipe provides a versatile foundation that can be customized to suit various dietary needs and flavor preferences while delivering on the promise of genuine ice cream enjoyment.
Ready to experience the creamy delight of homemade sugar free ice cream? Try this recipe today and discover how delicious healthy alternatives can be! Share your results in the comments section below or leave a review with your own creative variations. We’d love to hear how this recipe has helped you enjoy dessert while maintaining your health goals.
FAQs
Q: Does sugar free ice cream taste different from regular ice cream? A: When properly made, sugar free ice cream offers remarkably similar flavor and texture to traditional versions. The combination of erythritol and monk fruit provides a sweetness profile very close to sugar, while the egg yolks and cream deliver the rich mouthfeel you expect from premium ice cream.
Q: Can I make this recipe without an ice cream maker? A: Yes! While an ice cream maker produces optimal results, you can place the chilled mixture in a shallow freezer-safe container and stir vigorously every 30 minutes for 3-4 hours. This manual method requires more effort but still creates a delicious sugar free ice cream.
Q: Is this recipe keto-friendly? A: Absolutely! With only 3g net carbs per serving, this sugar free ice cream fits perfectly into a ketogenic lifestyle. The high fat content from cream also helps maintain ketosis while satisfying dessert cravings.
Q: How long will homemade sugar free ice cream keep in the freezer? A: When properly stored in an airtight container with parchment paper pressed against the surface, this sugar free ice cream maintains quality for up to three weeks, though the texture is best within the first 7-10 days.
Q: Can I add fruit to this recipe without increasing the sugar content? A: Yes, small amounts of berries like raspberries, blackberries, or strawberries add minimal natural sugars while providing flavor and nutrition. For a truly sugar-free option, use extracts like strawberry or raspberry in place of the vanilla.
Your Feedback Matters
There are no reviews yet. Be the first one to write one.

One Comment
Comments are closed.